

We’ve all been there trying to put together equipment and we can’t get the holes to line up to assemble our pin. Ugh! I’m a hands on kind of guy so I was constantly down in the shop watching and learning how people assembled equipment. (I helped too.)
These tricks will help you assemble large objects faster: design the joint to only pin up two separate components, test fit the pin through all of the components, only align one side at a time, use a long pry bar, use manual lift controls, and use alignment “bullets”.
Let’s face it; assembling components can be frustrating! For small and medium sized components, they can generally be man-handled into place. Common tools for this is a #2 screwdriver and an overhead crane. It gets a lot more complicated when you are tying to assemble two 1000 lb (450 kg) components.
Far too often, I have seen composite cylindrical bearings (i.e. Garmax) tear our the wear surface because of pin misalignment. This is wasteful and preventable because you have to disassemble, cut out and replace the bearing. Time, money and inventory. Good preparation can prevent this from occurring.
As good design engineers, you need to foresee how your creation will be assembled. I’ve learned some tricks over the years. Let’s explore those together.
1. Design the Joint to Only Pin Up Two Separate Components
While this is not an assembly tip, it is critically important. Its one of the things that separates good engineers from the bad ones. The only thing worse than having to align two large items is aligning 3. And worse than that….
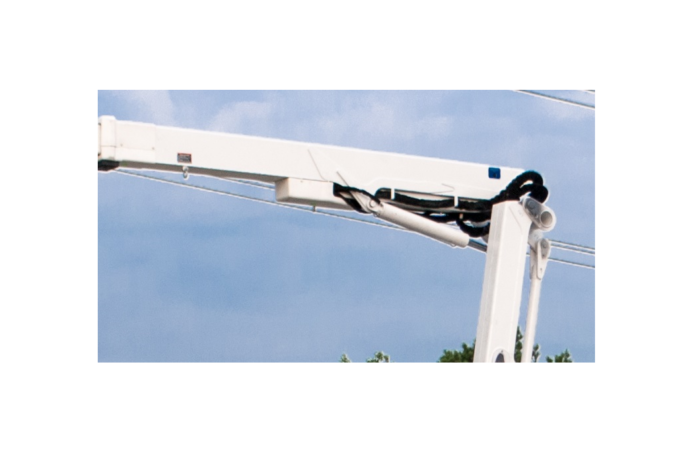
Many times, three things need to pivot on the same axis. Using hollow pins can avoid this complication.
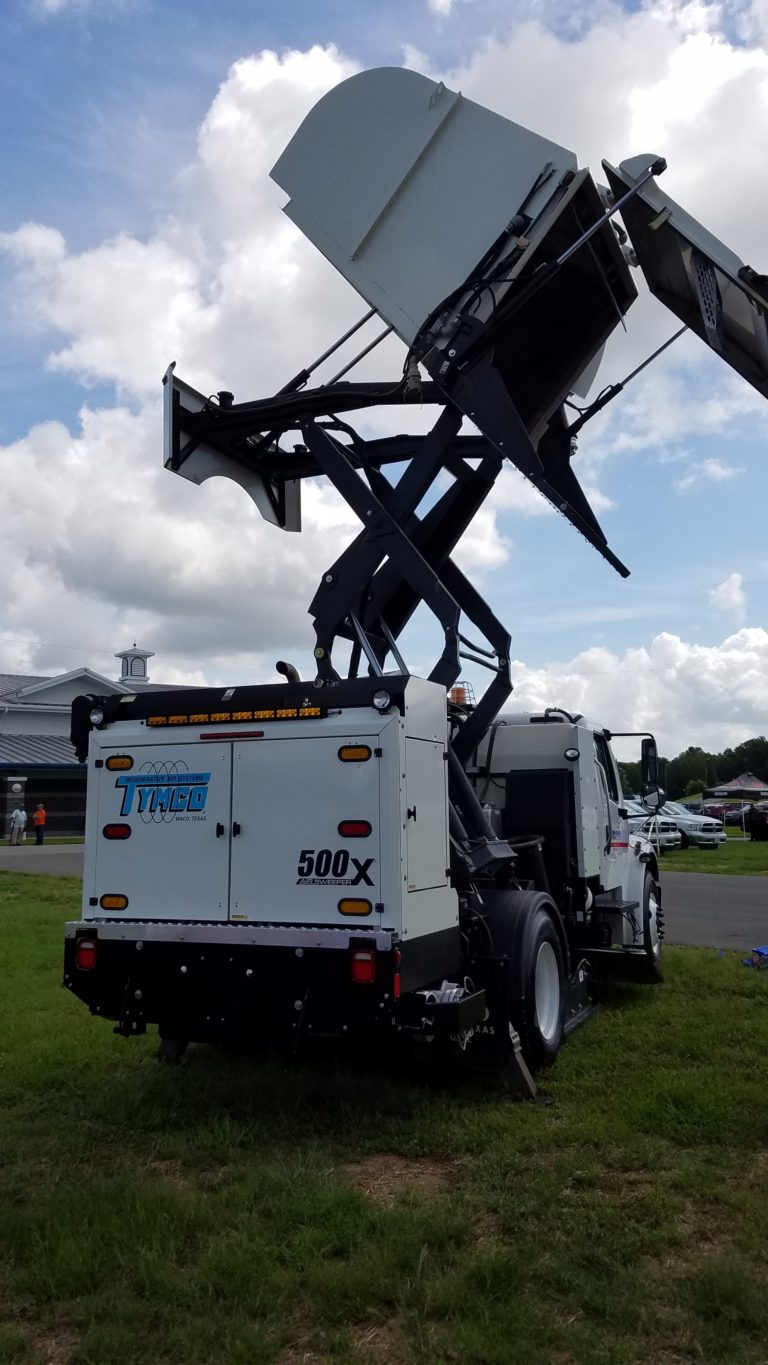
The street sweeper shown has three large weldments that come together at the top right of the scissor lift: the scissor arm, the top horizontal component of the scissor and the hopper.
This would be very tough to align all three components at once especially since the hopper would get in the way of supporting the horizontal weldment with a crane.
To me, it would make sense to have a hollow pin connect the horizontal member and the scissor arms. Once that is pinned together, run a normal pin through the hollow pin to connect the hopper.
This simple design change makes it so that we are only pinning together two items at a time.
2. Test Fit the Pin Through All of the Components
This is a duh thing, but often overlooked. Before trying to fit up multiple objects, make sure the pin goes through each one individually.
If it doesn’t go through one, it won’t go through all of them.
3. Only Align One Side at a Time
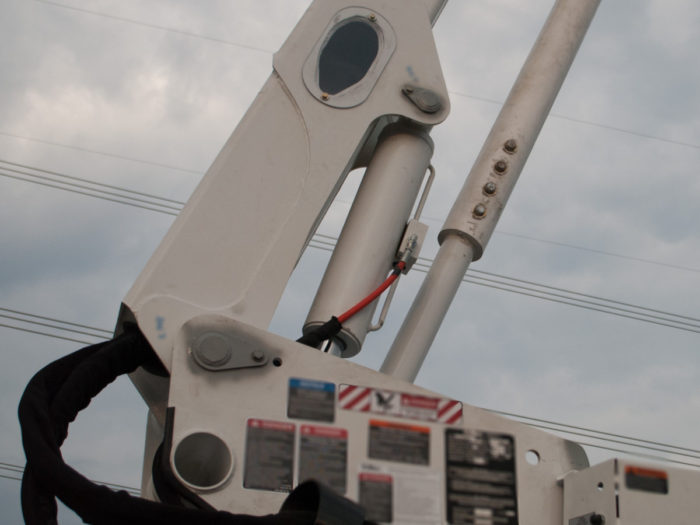
When assembling two components, like the joint shown below, it is nearly impossible to align both sides a once. So don’t try! Align the side that the pin is inserted on as best you can.
Then insert the pin so that it is through the first component and partially through the second. At some point, you will feel that the misalignment grows and it is harder to hammer the pin in.
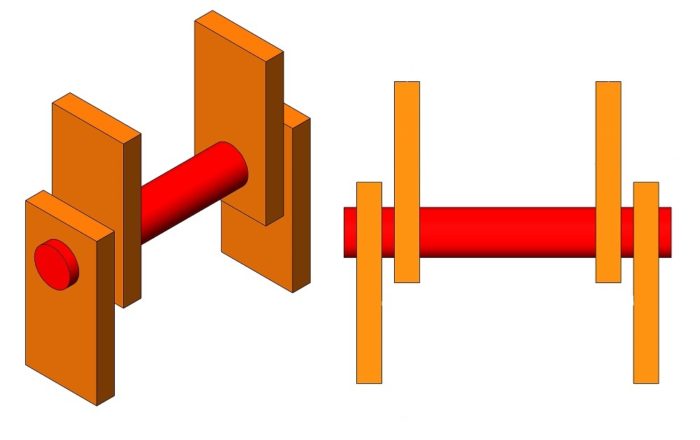
Now align the other side as best you can and continue driving the pin. Do a final check of alignment when the pin is about to go through the final tang of the joint.
This can be done seamlessly if there are two people. One to align and one to drive the pin. (I always liked to hammer the pin: it was a way to vent frustration and it made me look like less of a wuss to the assemblers.)
4. Use a Long Pry bar
Remember that you are the softest thing in the shop! Never stick your hands in a hole to align them. I have seen parts move suddenly. Once I saw a screwdriver sheared off. Keep those fingers away.
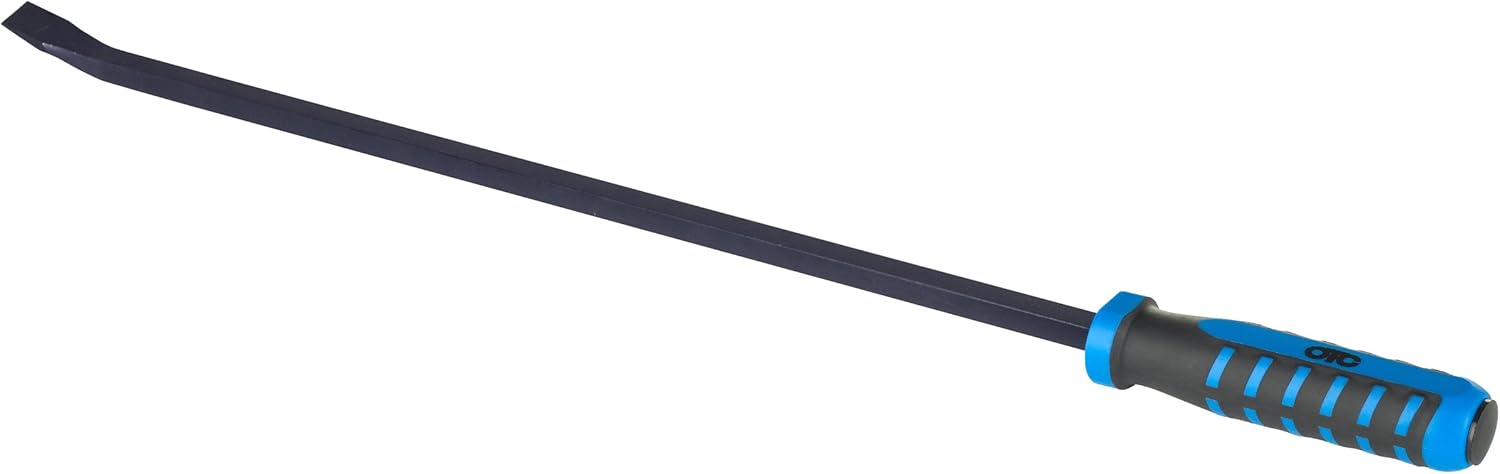
Many times, simply using a pry bar can get you where you need to be for proper alignment. However, be careful and cautious with this. These weldments are heavy and will require much force. I’ve personally had the pry bar slip and ended up on the ground.
This is also useful tool to have if there are machinery bushings that need to be installed.
Under no circumstance should the pry bar contact any bearing or machined surface. It will leave a mark or destroy the bearing.
5. Use Manual Lift Controls
Most assembly work is done with the aid of overhead cranes. The most common styles are jib or gantry cranes. Typically, these are electrically controlled with a wired pendant (although wireless is becoming more common).
The major drawback of electrically controlled cranes is they have minimal fine tuning. This means that every time the button is pressed, it will move and probably more than you would like. Typical accuracy is around 1/4″ (6 mm)
The assemblers I’ve worked with came up with a system where he would tap the controller repeatedly until it would move. The taps would start off weak and build until the bare minimum of motion occurred. This is when the pry bars usually came out. This was more precise and you could move the crane in 1/16″ to 1/8″ (1.6 to 3.1 mm) increments
This works, but there has to be a better way.
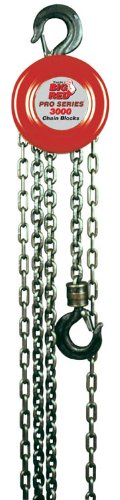
There is! Suspend a hand powered chain hoist from your existing overhead crane system.
This allows you to fine tune placement of your items to be assembled. No repeated pressing of buttons and overshooting the hole! When done, you could simply store the hand chain hoist out of the way.
A 1 ton chain hoist, like what is shown, weighs between 20 lb and 25 lb. You can get them in multiple lengths and in capacities up to 5 ton (maybe even more).
You can save some weight in the hoist by removing all but 1 – 2 feet of the lifting chain because we can use the overhead cranes to do the coarse alignment, and then the hand chain hoist to move it only a few inches at most.
Sadly, no matter how many times I suggested this, I could never convince a supervisor to even try this idea. Its a shame. It would have saved them a lot of time.
6. Use Alignment ‘Bullets’
We can all realize that a sharp edges on the end of a pin doesn’t allow for easy assembly. Most pin designs utilize a small 45° chamfer at the end.
These are easy to manufacturer and relatively easy to install. Having a small chamfer allows for a shorter overall length pin. Where possible, I recommend a 30° chamfer with a fillet on each edge. When used with fiber backed bearings, this will prevent tear out in the event of misalignment at install. Modern CNC equipment can handle this difficult shape with little programming.
If the overall length doesn’t allow for the longer chamfer or you want to allow for a lot of misalignment at assembly, try using a “bullet”. Named for its shape, a bullet is a temporary tool used to insert the pin and then removed.

The bullet will have the 30° chamfer (or less) with fillets and simply bolts into the holes used to mount the cookie retention plate. The bullet can be made to any length and shape. If desired, it could taper tremendously allowing for lots of misalignment and easy assembly.
When the pin is installed, remove the bullet and secure the end of the pin. The bullet is reused time and time again. For longer life of your bullet, make it out of a material that can be hardened and induction harden it once you’ve proven the shape works.
Conclusion
You’ve spent a lot of time designing and machining tight tolerances for holes. Your assemblers are all too happy to pull out a flapper wheel to make that pin go in just a little easier.
Make sure that those who assemble your design are equipped with what they need to assemble your creation the way you intend.
Give them the tools they need to do it right. It will save them time and prevent bearings from being destroyed. All this saves the company money.